Go Back   Frag Outpost Forums - Coral Propagation and Reef Aquarium Forums > FragOutpost Forums > DIY

Reply
 
Thread Tools Search this Thread Display Modes
Old 05-21-2007, 07:01 PM   #1
icereefer
Member
 
Join Date: May 2007
Posts: 20
icereefer is on a distinguished road
Default My sump I built for my 75 gal.

Well I figured I'd do a start to finish on my sump I'm built for my 75 gal for anyone that wants to see how to work with Acrylic.
Well first off I guess we should go over the tools needed, or at least I used.
a router, Table saw, dremel, square, propane blow torch, drill or press, weld-on#16 for filler glue, weld-on#3 and a needle bottle, wide space clamps, black marker, Rubber gloves.

I'm starting with a acrylic display tank I picked up from one of my local pet stores. "PetsRinn".

as you can see there's 2-1/2" holes in the center and 4-1" holes in each corner on the back of the tank. the 2-1/2" I added 1/2" bulkheads and capped them, the upper left corner 1" I'm going to use that one for my Overflow hook up and the top right one I'm going to use that one for my pump return. the 2 bottom corner ones I'm going to add Valve to them so if I ever need to drain my sump.
here's my overflow tube I made this will flow into my chamber box and bubble trap area.

and this is it installed in upper left 1" bulkhead.
icereefer is offline   Reply With Quote
Old 05-21-2007, 07:03 PM   #2
icereefer
Member
 
Join Date: May 2007
Posts: 20
icereefer is on a distinguished road
Default

ok this is some shots of my bubble trap box I made out of 3/16 smoked colored acrylic.


this is a shot of my spillway and outlet chamber that will enter my sump area.

and this is a picture with it all put together.
icereefer is offline   Reply With Quote
Old 05-21-2007, 07:06 PM   #3
icereefer
Member
 
Join Date: May 2007
Posts: 20
icereefer is on a distinguished road
Default

this is a picture of the jig I made from an Idea I got off anothers web site for keeping straight line on your slot grooves.


This is a picture of my first spillway that will dump into my skimmer area.

Before I installed my spillway I wanted to make some teeth to match the height on my first splillway that came out of my bubble trap box so my water height.wouldn't go over that spillway and make it useless.
well in this photo you can see I made my teeth. I used a double fluted blade router bit. I usually use a 1/2" cutting surface bit.
icereefer is offline   Reply With Quote
Old 05-21-2007, 07:09 PM   #4
icereefer
Member
 
Join Date: May 2007
Posts: 20
icereefer is on a distinguished road
Default

once I make my cuts the cutted edges are kind of rough, so what I do is use a method some call it heat or torch polishing the cut edges.
it takes a little practice so try it first on some scrap pieces, but once you learn how to do it, it works really well for polishing cut ends. I use just a regular propane torch you can get at any hardware store.
you just use low flame and don't work it to long in one area or you will warp you piece your working on.

I thought I would throw this shot in to show you how I glued the areas were it's hard to get into.
first off I took a syringe and started on the top of the area I wanted to joint glue, I simply let the solvent (Weld-on #13) run down the side of the seam till it pooled down at the bottom then I tilted the sump so the solvet would fallow the seam on the bottom of the sump, one thing nice about using solvent is you have time to move it around and get every un-sealed crack sealed with solvent before it sets up. with (weld-on #14) this solvent gives you even more time before it sets.

Okey well I got my pump in yesterday so now I'm starting on my skimmer area of my sump. I had to modify the top a bit to get the skimmer to fit.
First off I'll show you a shot of the router bits that come in handy for cutting the grooves in your over flow gates.

ok this is a shot after I cut the top so my skimmer would fit in my sump.
icereefer is offline   Reply With Quote
Old 05-21-2007, 07:13 PM   #5
icereefer
Member
 
Join Date: May 2007
Posts: 20
icereefer is on a distinguished road
Default

here in this photo you can see adding my valve mod I need to cut out more of the area on the top so my Valve mod with fit.

and in this photo you can see how I have it cut so the valve mod fits in the sump just fine.

and this is a photo that shows how my sump looks so far.

Well to start out, do not let someone help you on your projects when your not there to watch them......:hmmm:
a co-worker of mine stopped by the shop to see how things were going, about that time I got a call about a broken water line and had to go fix it.
my Co-worker said well I'm not doing any thing while your gone you want me to cut the teeth out on your baffle, Knowing he's used a router hundreds of time I said sure.
well the area I had to cut the teeth out was in the center devider of my sump, and I told him the router won't fit in there so you'll have to use my Dremel I told him I have router bits for my Dremel in my case.
and I told him while your at it if you want the teeth in my skimmer area need to be cut down a bit more because I noticed I didn't notch them enough.
well 2 hrs later I came back and just about had a heart attack...
icereefer is offline   Reply With Quote
Old 05-21-2007, 07:17 PM   #6
icereefer
Member
 
Join Date: May 2007
Posts: 20
icereefer is on a distinguished road
Default


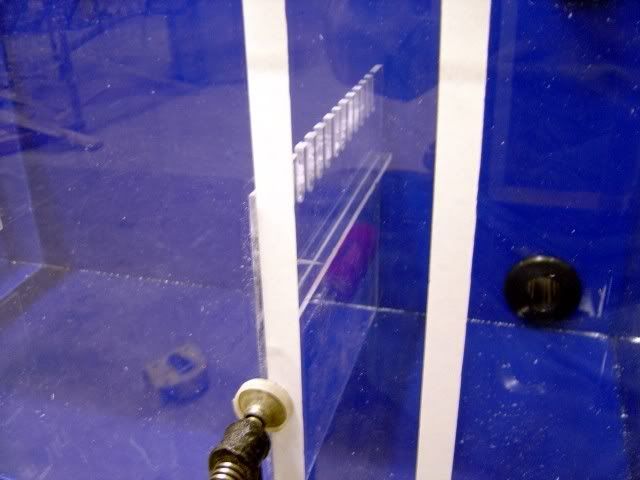
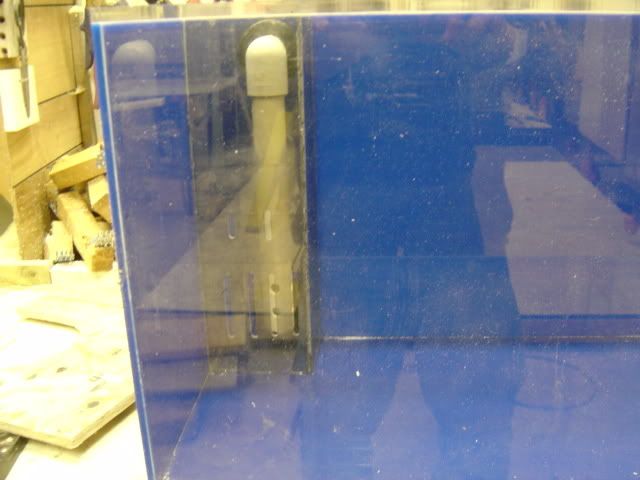
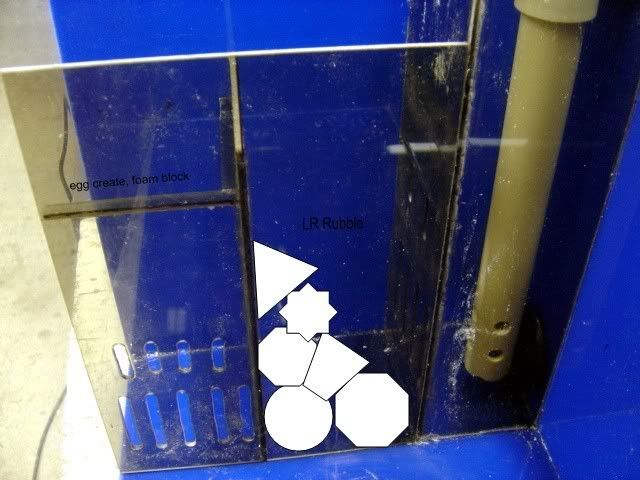
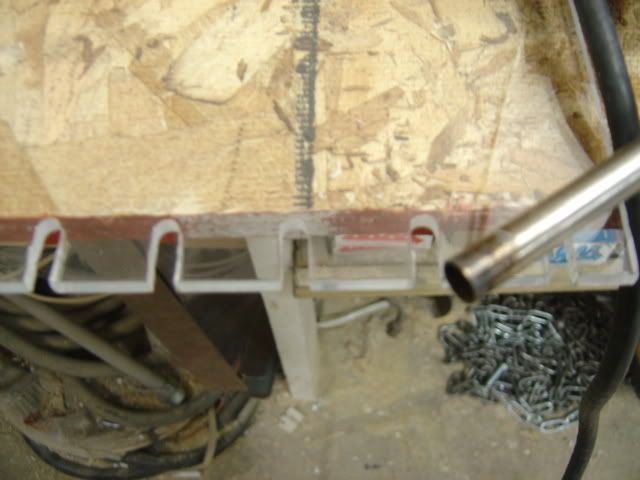
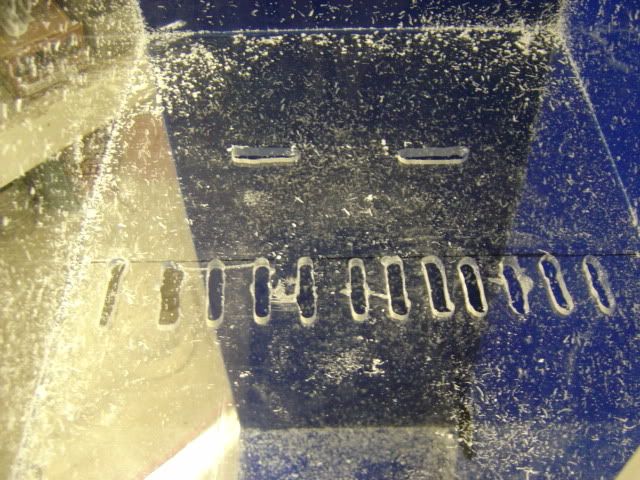
and on the left side on my sump you can see he cut my teeth down on my baffles and broke 2 of the teeth off.:12: good thing this is one of my sumps and I wasn't doing one for someone else I would of killed him.......
so I asked him what the hell did you do??? he said it kept jumping around on him???? I said even after you put the router guide on the Dremel, he said oh that's what the black thing in your case is for??????
he used my pencil extention with the router bit in it to cut the teeth.
oh well it don't look pretty any more but it should do the trick.
Okey enough venting...LOL.
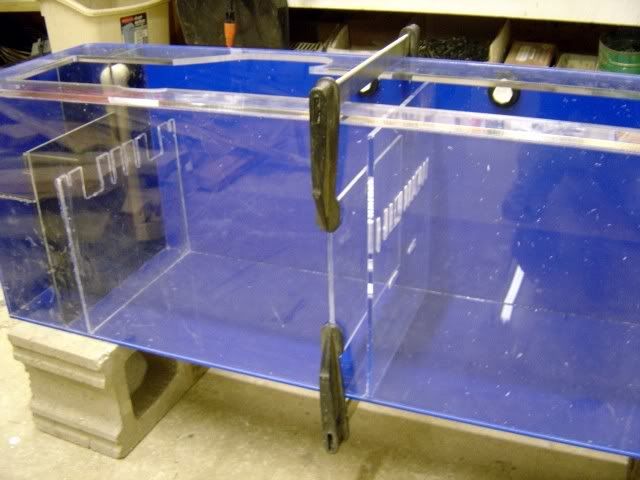
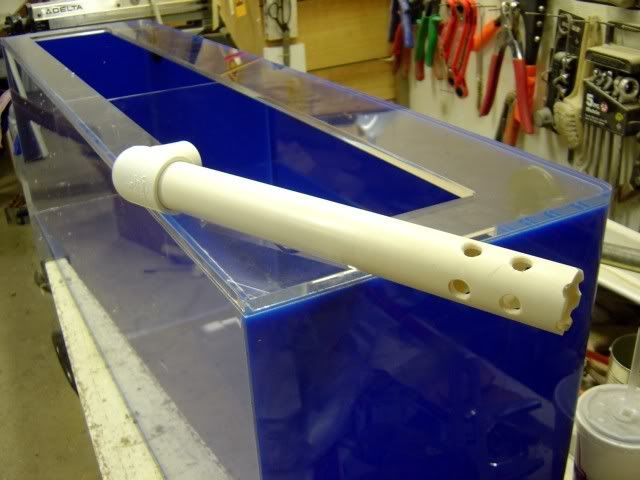
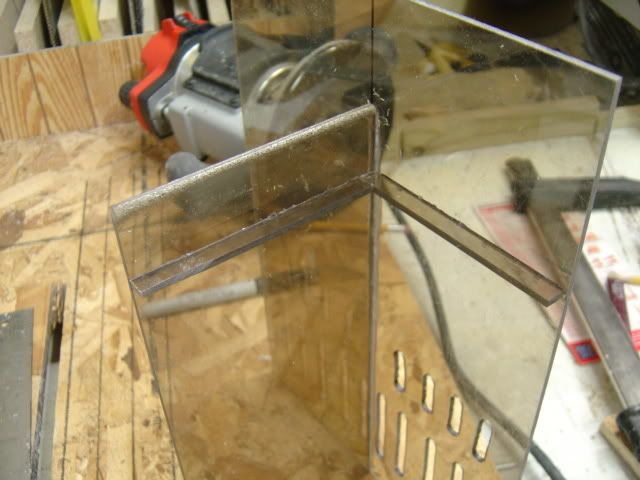
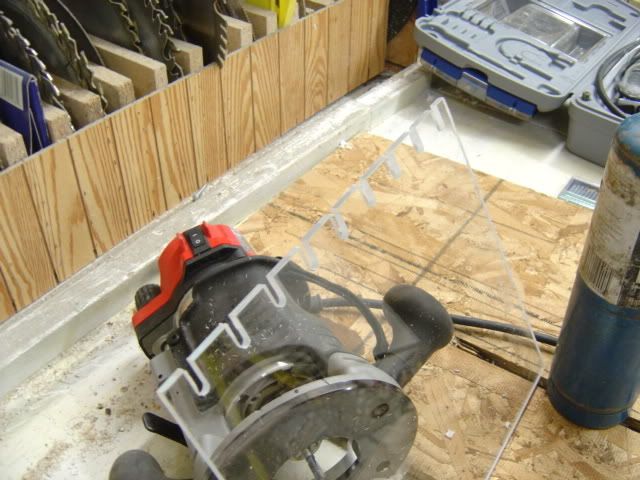
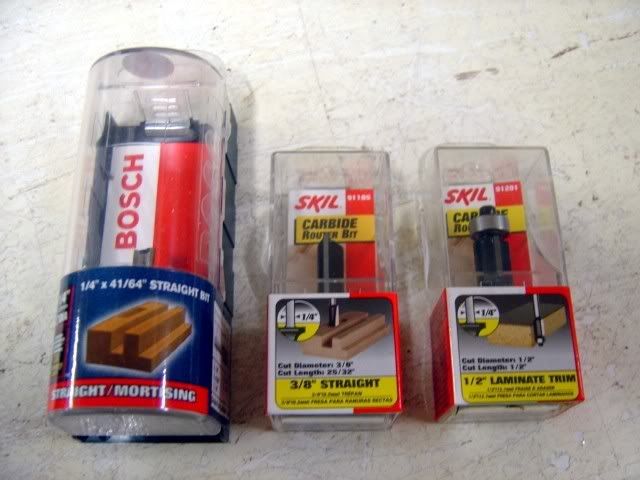
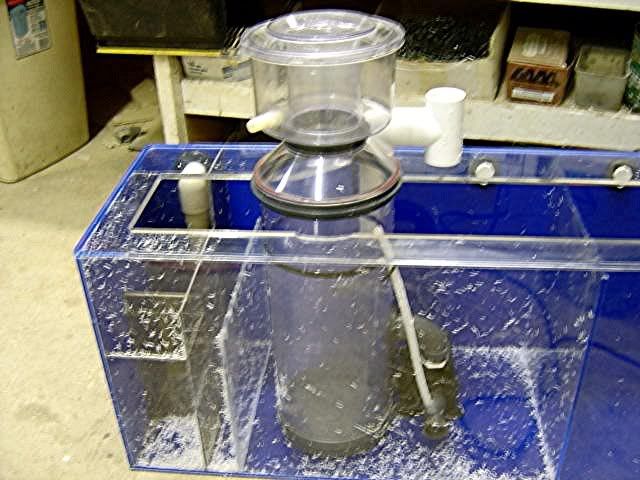
well to start out I got my baffle cut and teeth cut in I used my double 3/8th fluted router bit on this baffle. and added a shelf bracket 2" below my teeth so I could add a egg crate shelf so if I waned to run carbon or filter media.


in my finished photo you will see how the braces for my Egg crate shelf was done.
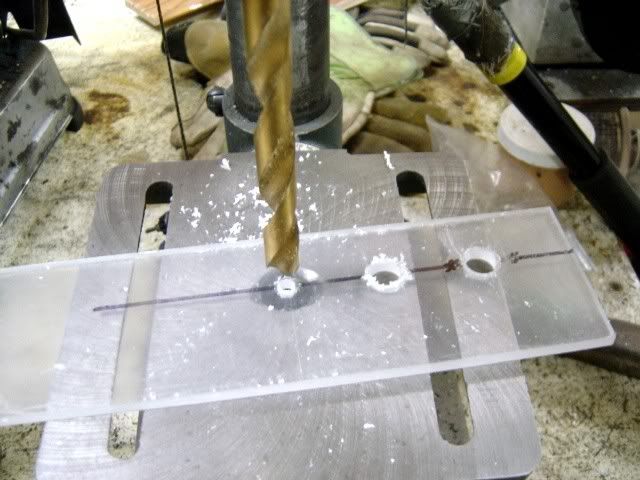
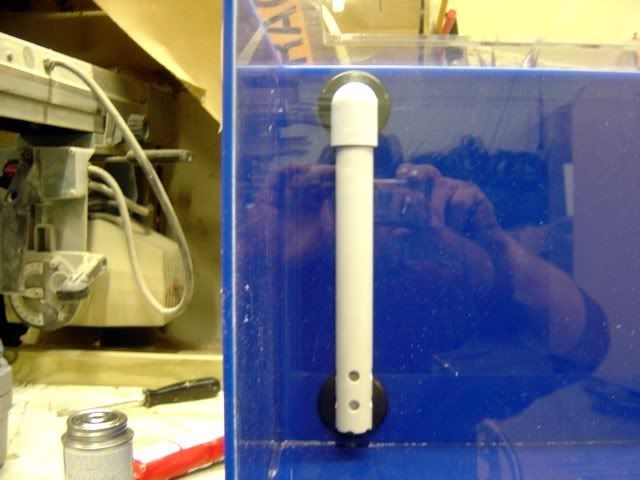
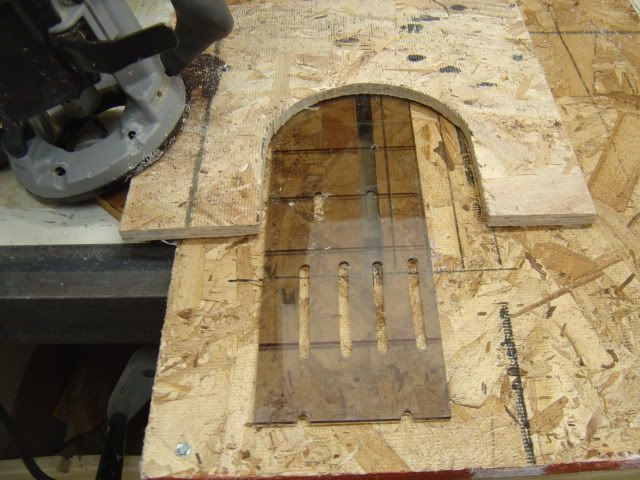
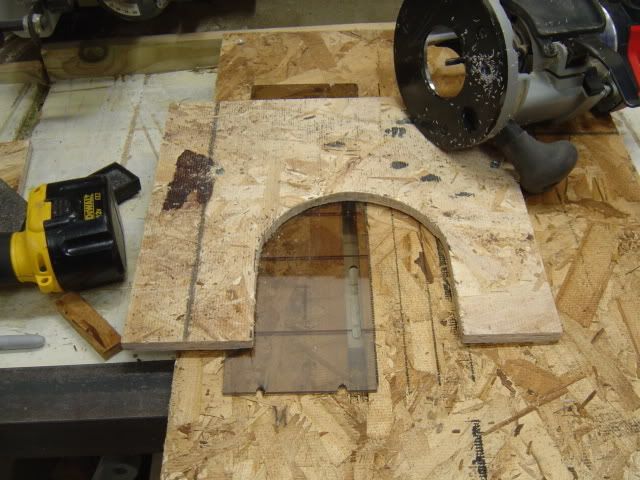
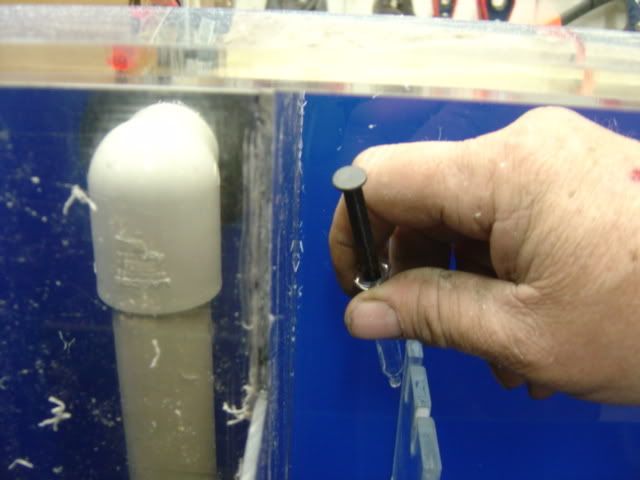
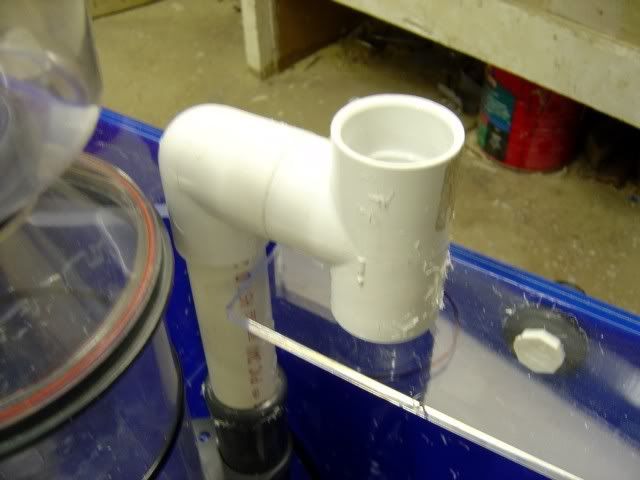
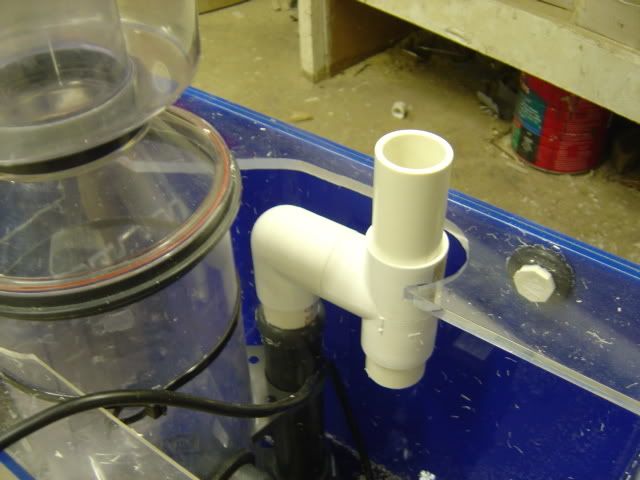
in these shots I'll show you how I made my probe bracket.
I'll be running a PH,Salinity, and calcium monitor, so I made a 3 hole bracket.
first I drilled my holes I used High carb drill bits at a medium speed, to fast you run the risk of cracking or chipping your Acrylic same with to low of a speed. if you don't have a drill press make sure you use acrylic drill bits. it will save you a lot of head aches.
icereefer is offline   Reply With Quote
Reply


Currently Active Users Viewing This Thread: 1 (0 members and 1 guests)
 
Thread Tools Search this Thread
Search this Thread:

Advanced Search
Display Modes

Posting Rules
You may not post new threads
You may not post replies
You may not post attachments
You may not edit your posts

vB code is On
Smilies are On
[IMG] code is On
HTML code is Off
Forum Jump


All times are GMT -5. The time now is 05:39 AM.


Powered by vBulletin Version 3.5.4
Copyright ©2000 - 2024, Jelsoft Enterprises Ltd.
Copyright © 2004 - FragOutpost.com - Coral Frag Trading & Coral Propagation Resources