Well I figured I'd do a start to finish on my sump I'm built for my 75 gal for anyone that wants to see how to work with Acrylic.
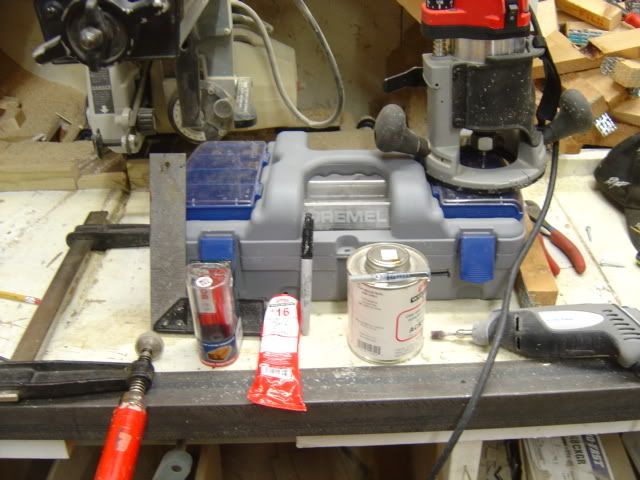
Well first off I guess we should go over the tools needed, or at least I used.
a router, Table saw, dremel, square, propane blow torch, drill or press, weld-on#16 for filler glue, weld-on#3 and a needle bottle, wide space clamps, black marker, Rubber gloves.
I'm starting with a acrylic display tank I picked up from one of my local pet stores. "PetsRinn".
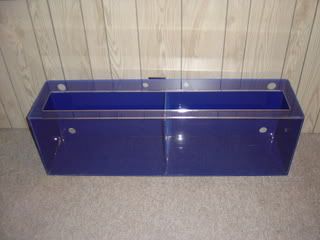
as you can see there's 2-1/2" holes in the center and 4-1" holes in each corner on the back of the tank. the 2-1/2" I added 1/2" bulkheads and capped them, the upper left corner 1" I'm going to use that one for my Overflow hook up and the top right one I'm going to use that one for my pump return. the 2 bottom corner ones I'm going to add Valve to them so if I ever need to drain my sump.
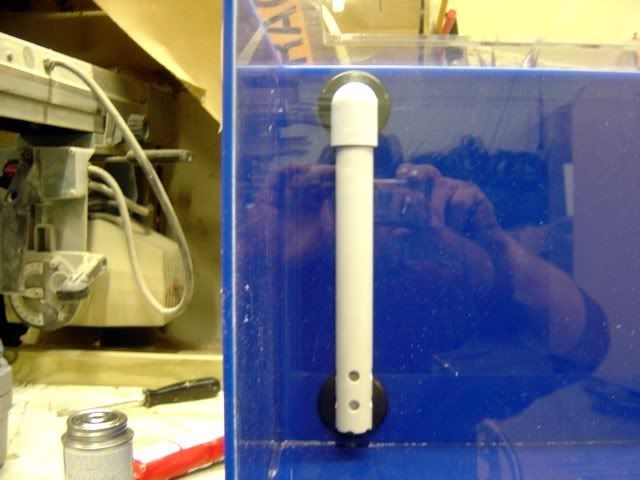
here's my overflow tube I made this will flow into my chamber box and bubble trap area.
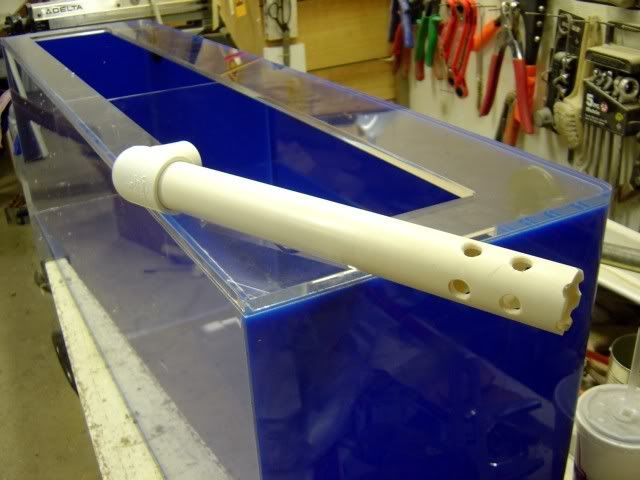
and this is it installed in upper left 1" bulkhead.